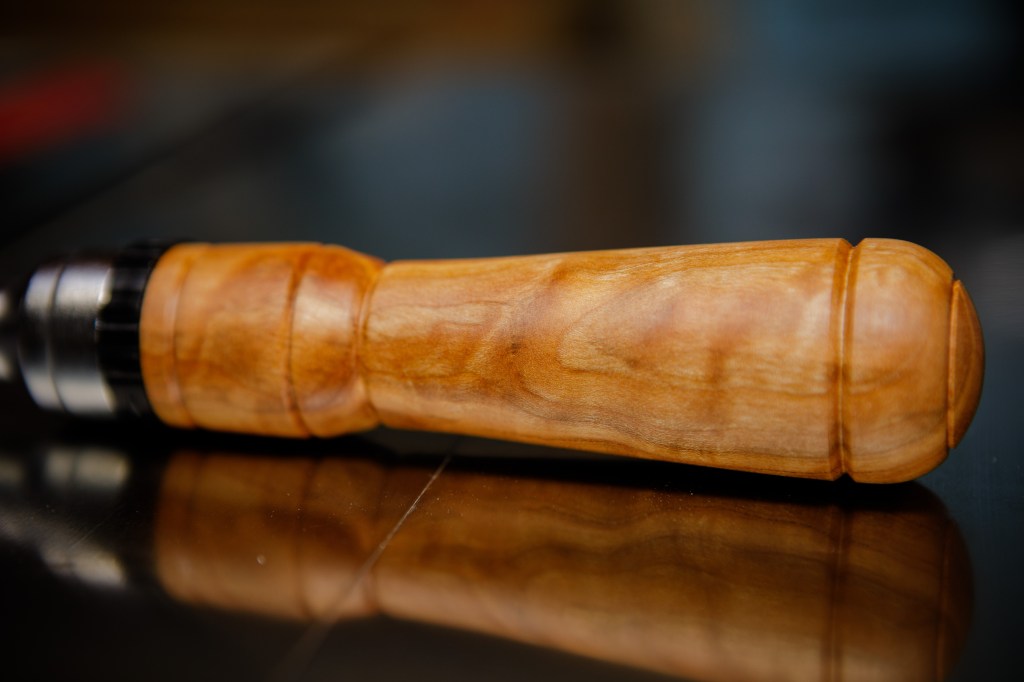
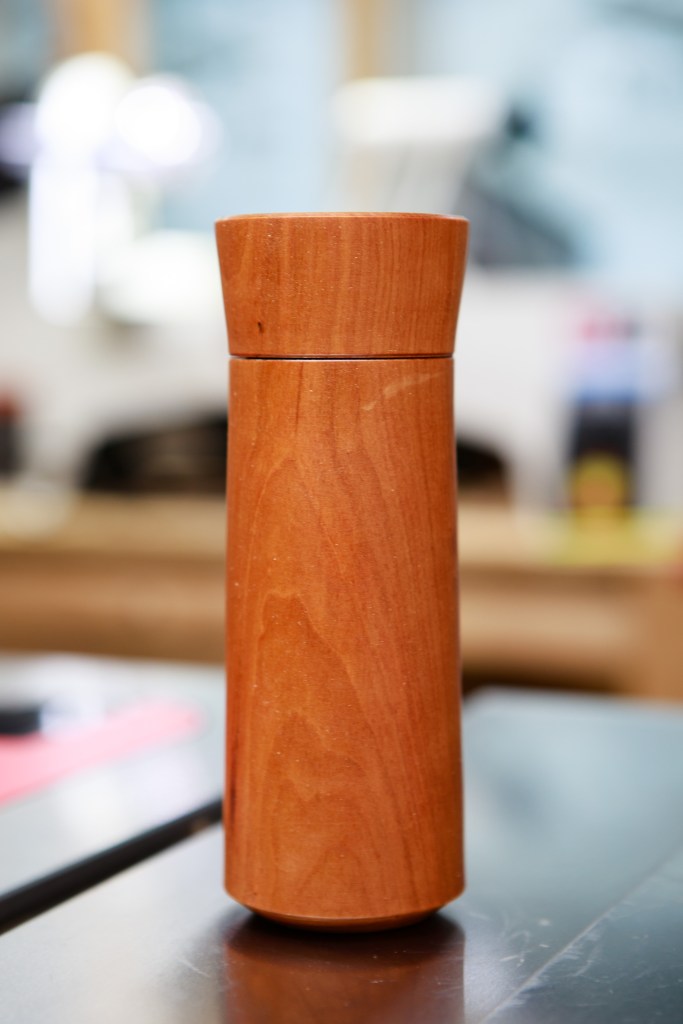
A year and a half prior, I was given some cherry wood. At a glance it looked like it had quite a bit of curl, very interesting grain. So I sat it on a shelf to let air dry.
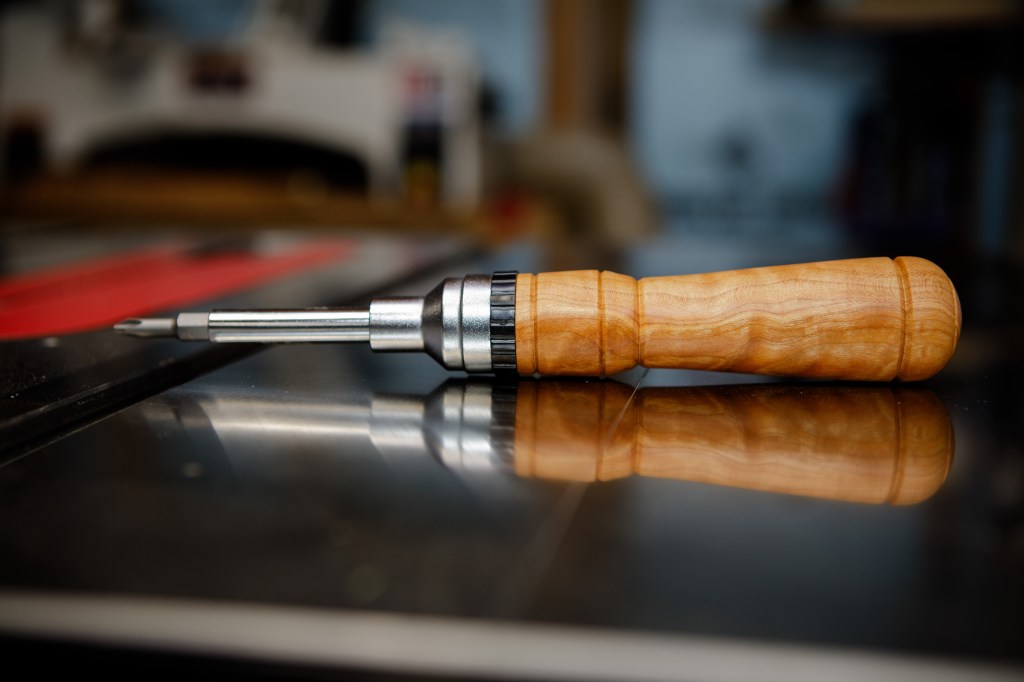
A couple of months ago I finally found a kit I wanted to use it on – a ratcheting screwdriver kit.
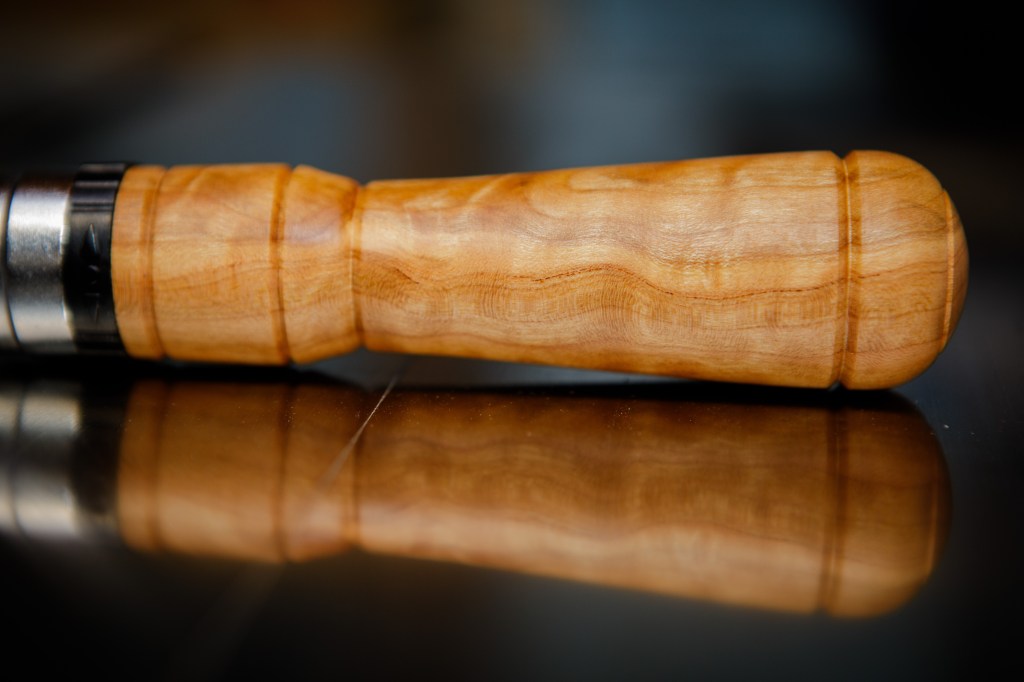
The grain looks incredible. It’s a solid kit and will be getting plenty of use.
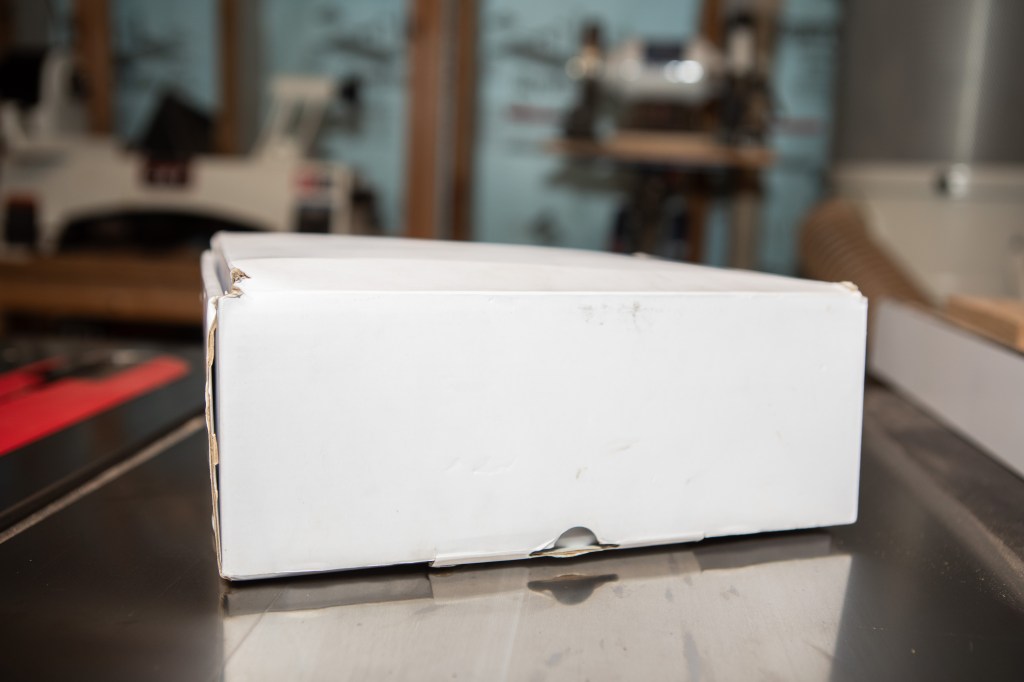
Towing the camper brings with it a few accessories: backup camera, tire pressure monitor, mounts and cables. For a few years now I have just been using the box the backup camera came in to store this stuff.
It not pretty, but has gotten the job done. When we arrive at our destination, we put the accessories back in the box and the box stays in the truck.
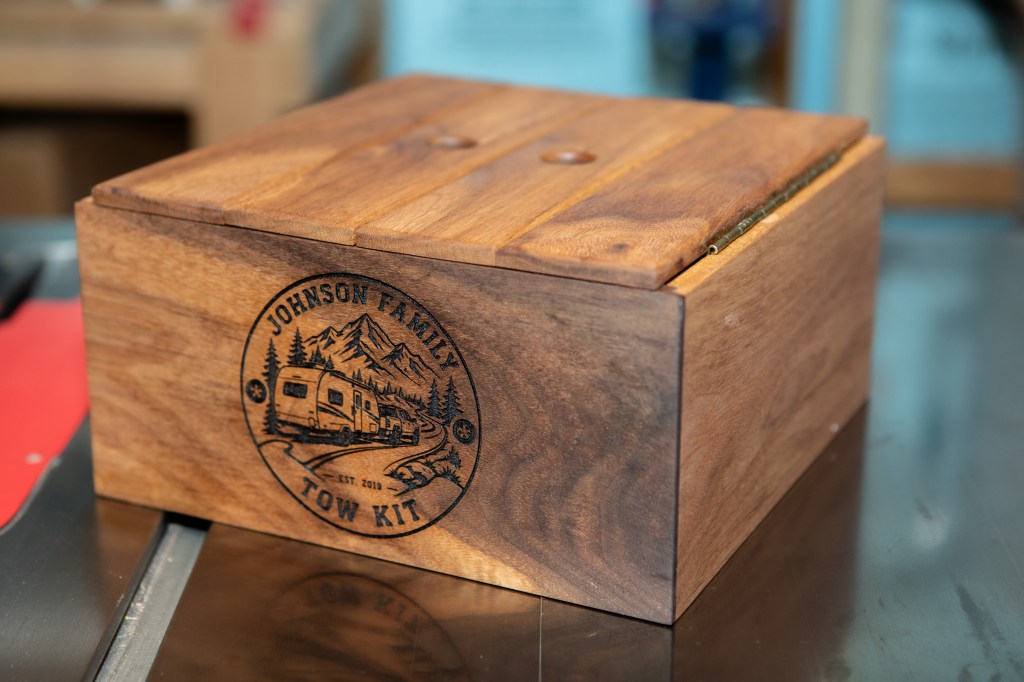
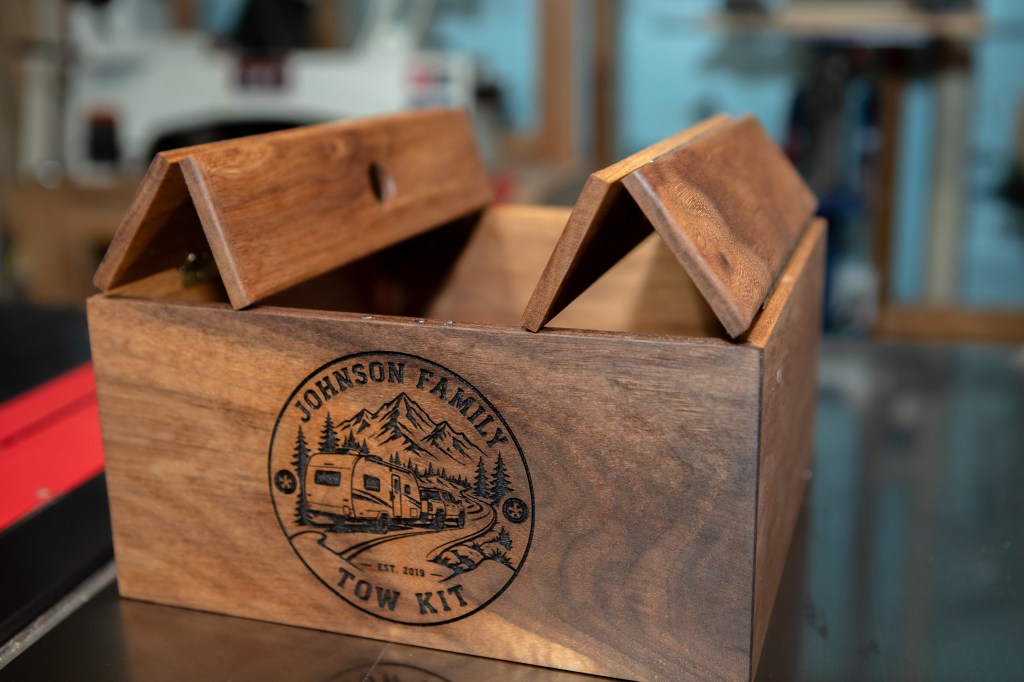
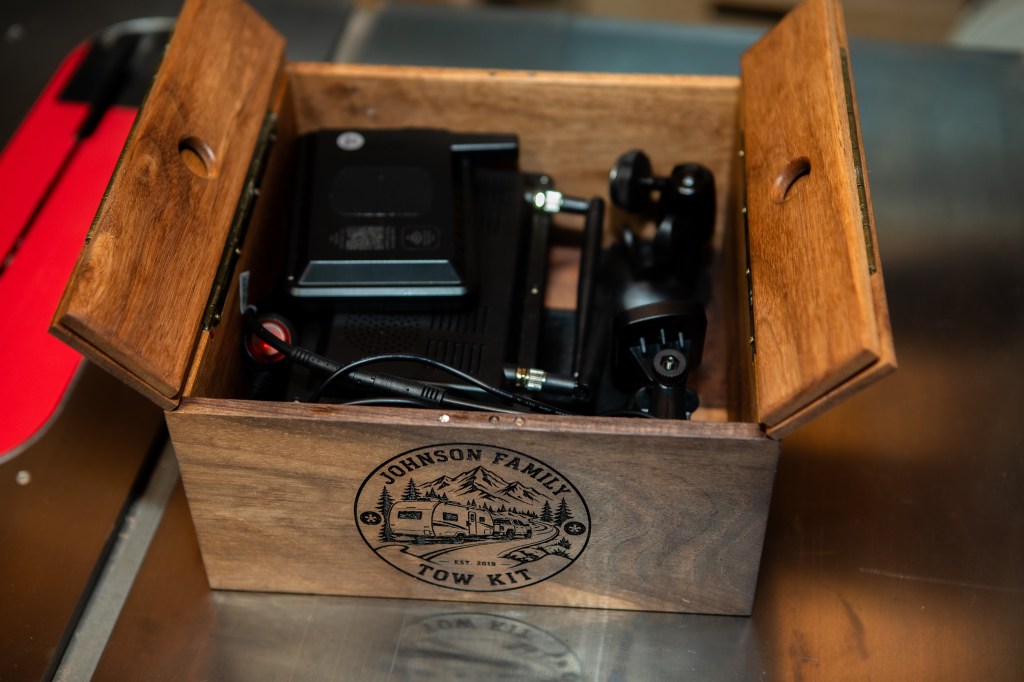
AS you can see, it’s a little worse for wear. So after about 2 years of thinking about making a replacement, I finally did. Introducing the “Tow Kit”.
I put the bandsaw to good use by resawing a pair of walnut boards I had on hand, milled down to a final thickness of 3/8″. Rabbet joints and a floating bottom, also solid walnut. The lid is a hinged 4-panel design. Laser engraved graphic. Natural tung oil finish.
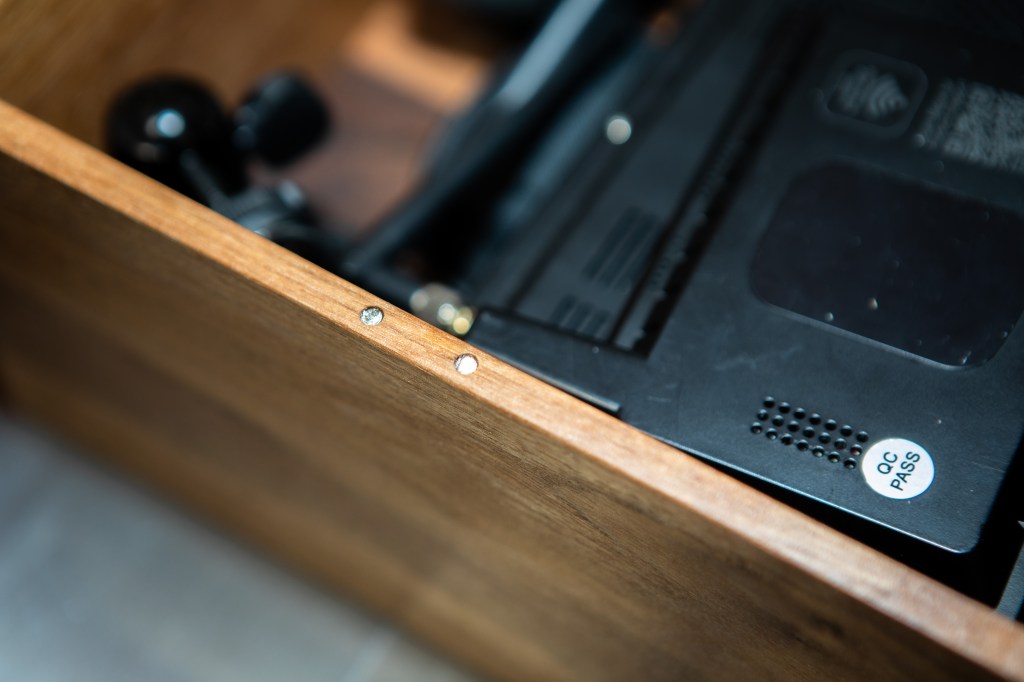
I went with this unusual lid so it doesn’t take extra lateral space to open it – remember this is usually sitting in the truck. A set of small magnets pull the lid ever so slightly closed.
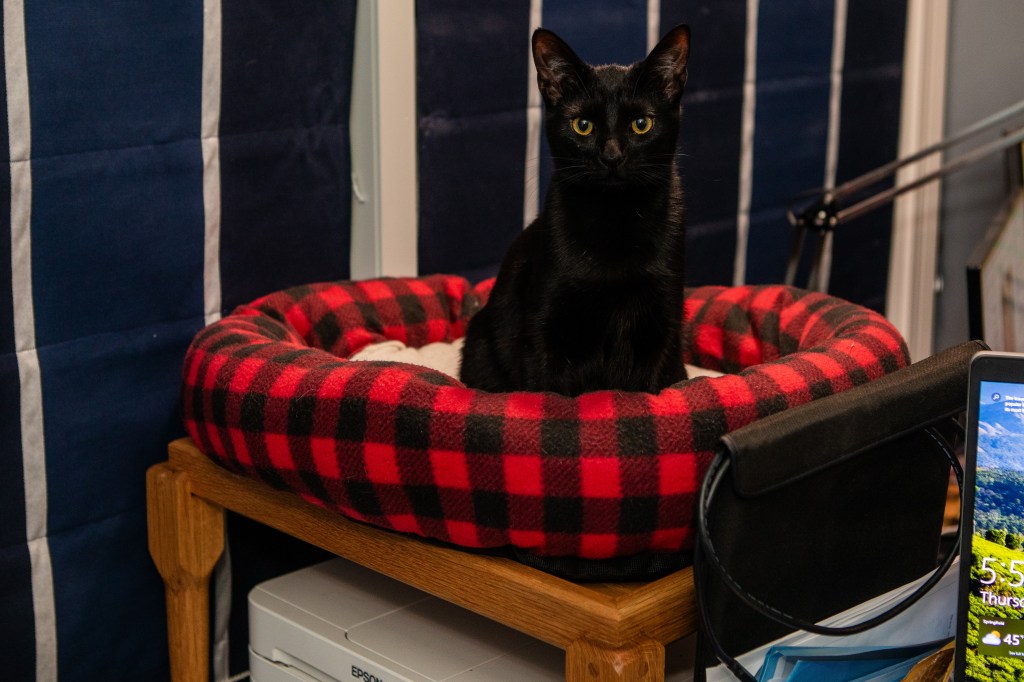
Last summer we got two new kittens and they love sitting in the window in the office. We turned a cardboard box upside down, over a printer/scanner, and put one of the cat beds on it so they could sit and enjoy the view.
After more than a few months, the cardboard began sagging and it was clear we need a more permanent solution.
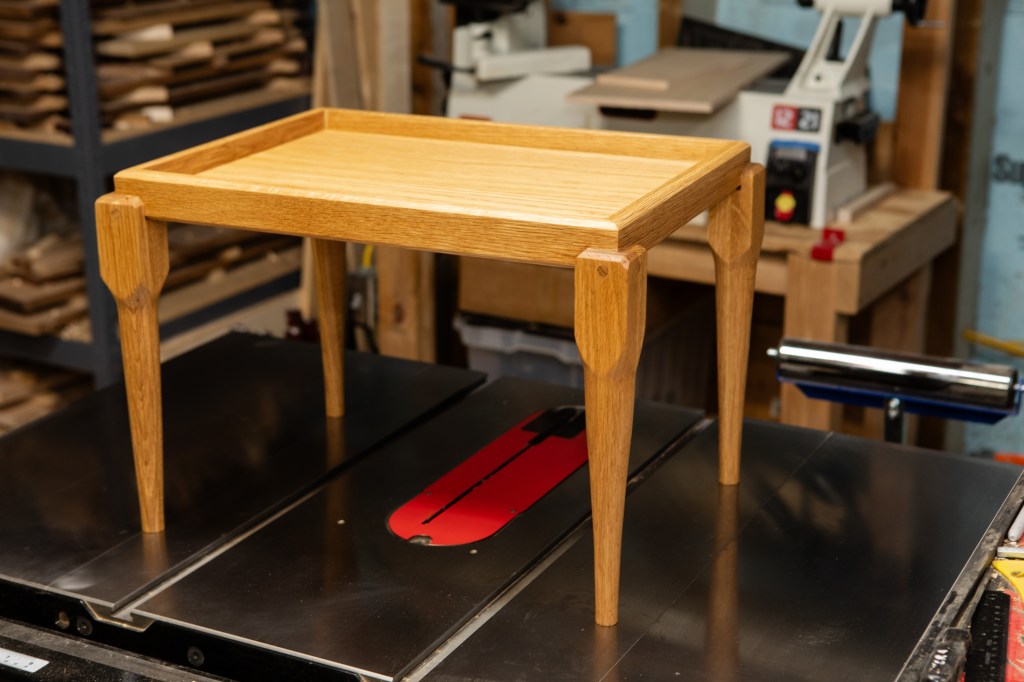
Enter, the “table”.
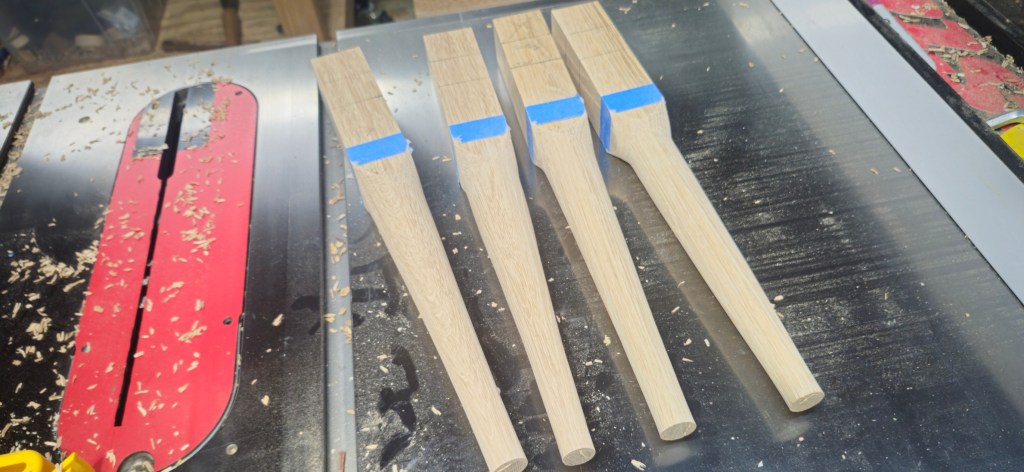
I used some White Oak boards I have and glued them up so I could attempt to make my own table legs. And I succesfully turned them!
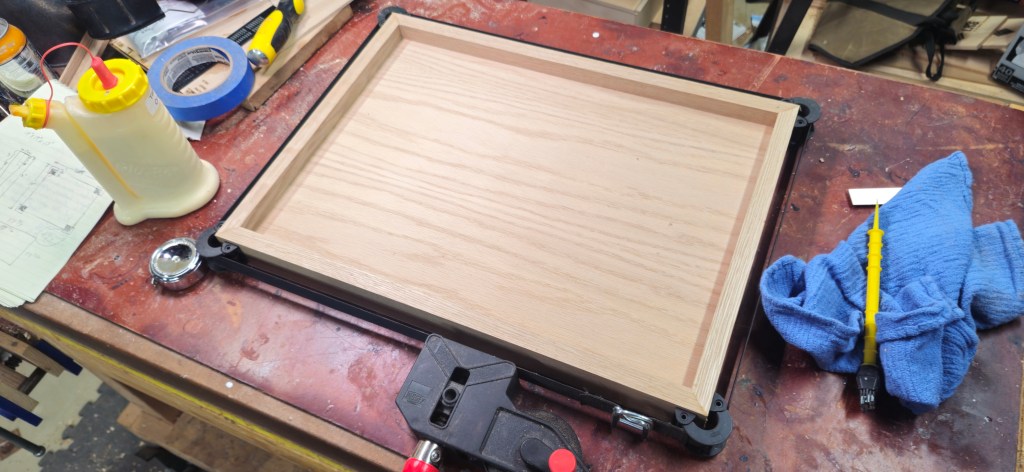
The top of the table is more of a bin than a flat table top – a mitered frame a couple inches tall which will hold a typical pet bed. The sides are just tall enough to keep the bed from sliding straight off.
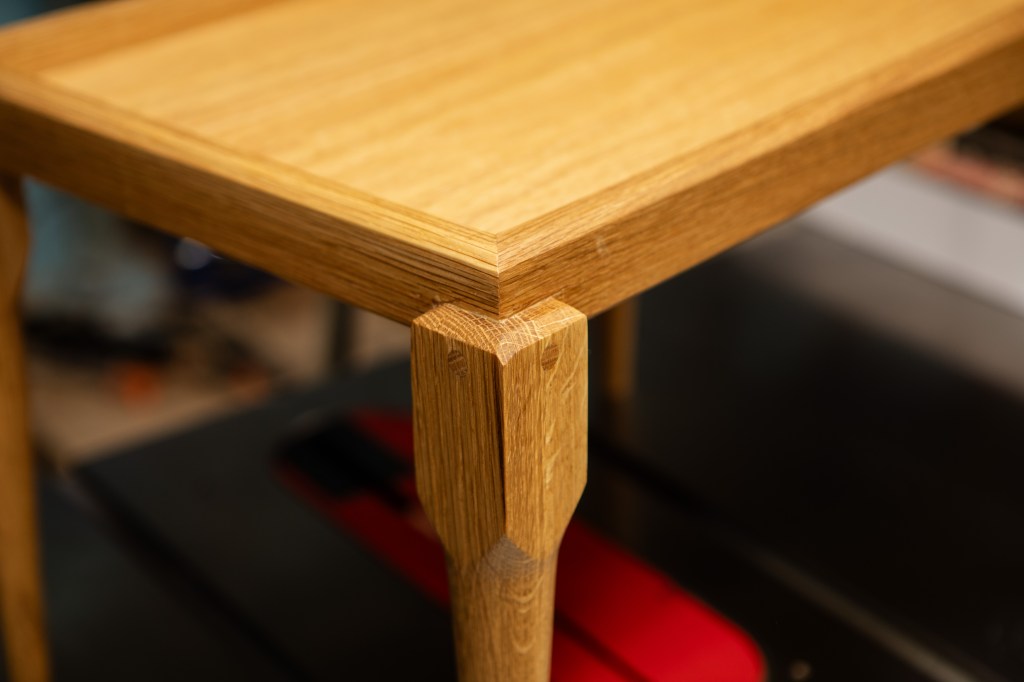
I’ve never done anything like a table before, so I wasn’t too fond of cutting mortises into my self-turned legs and decided to forgo an apron all together. I instead opted to embed the top bin into the legs, and pin them in with dowels.
It’s clearly a non-traditional configuration, but I like how it looks. It’s not just a small table, it’s something different.
The printer nestles undeneath nicely and, most importantly, the cats are enjoying their new digs.
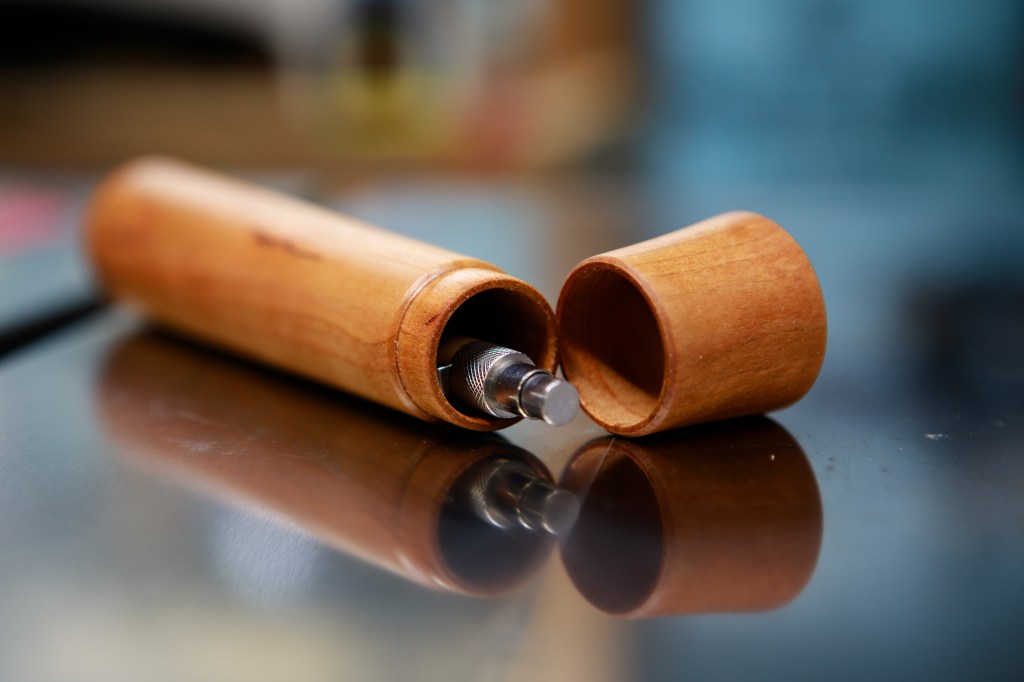
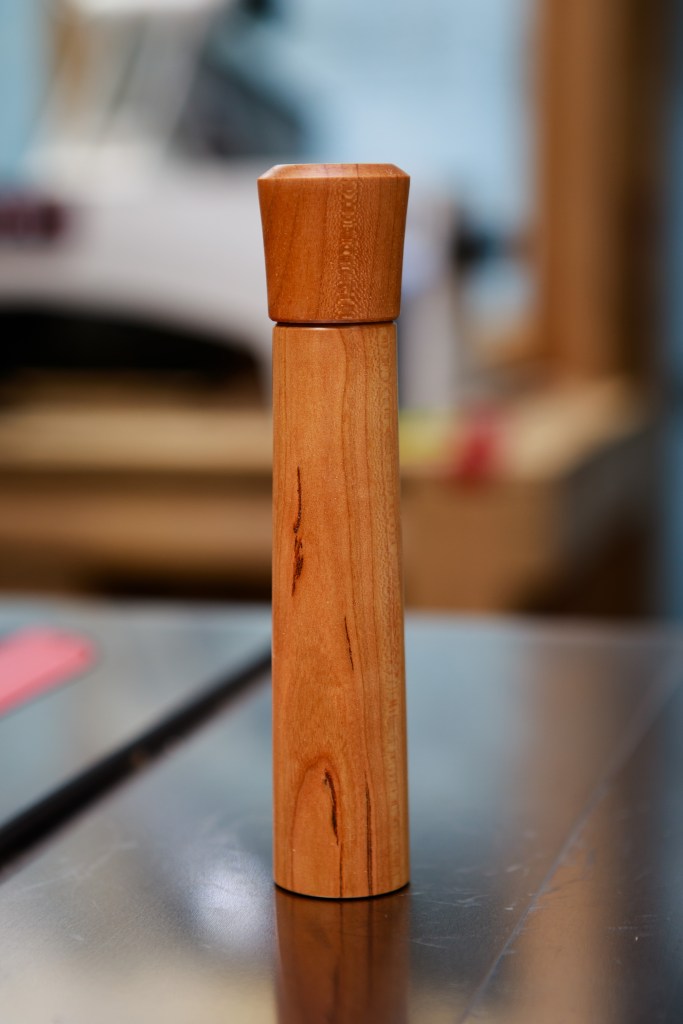
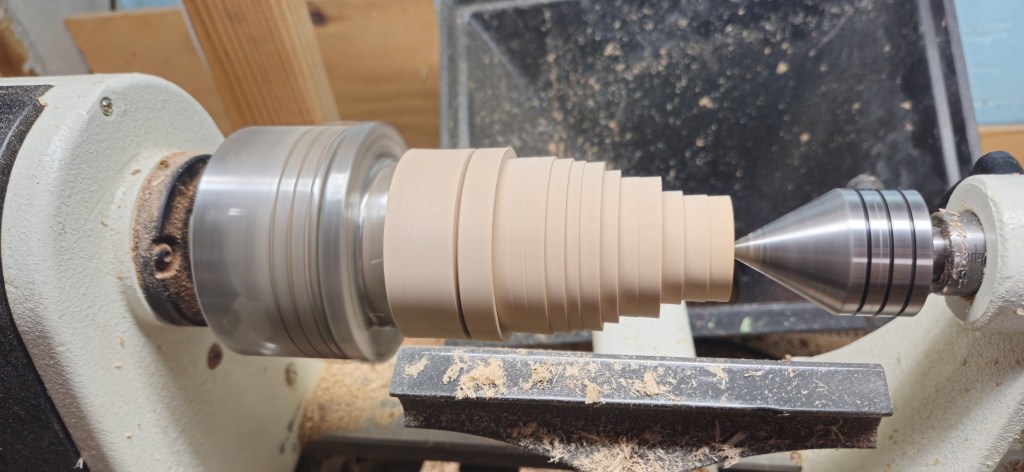
I’ve made a pencil case on the lathe before, but I’ve only done one. I’m a firm believer that beginner’s luck is a thing and you don’t really know how to make or do something until you’ve done it several times. Enough times to run into problems and work around them.
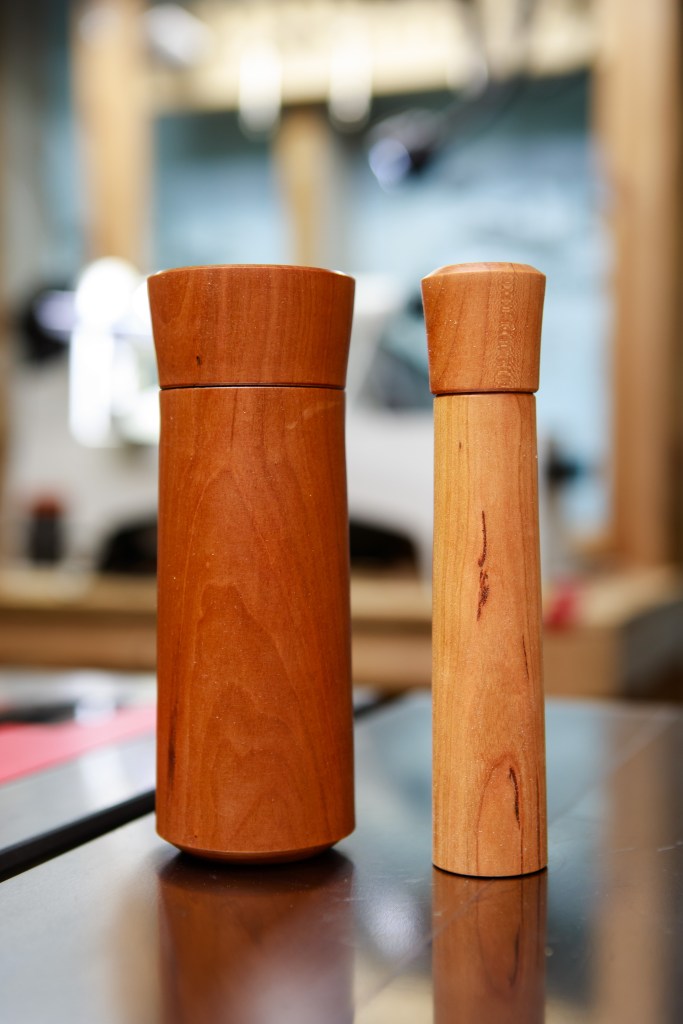
So last week I decided to make a pair. One larger and one smaller than before. I also wanted to do them without hitting youtube for any video refreshers.
The large one came out well. The lid is a good friction fit and holds well upside down. I did not hit any real problems and overall the process was smooth.
Next up with the narrow version.
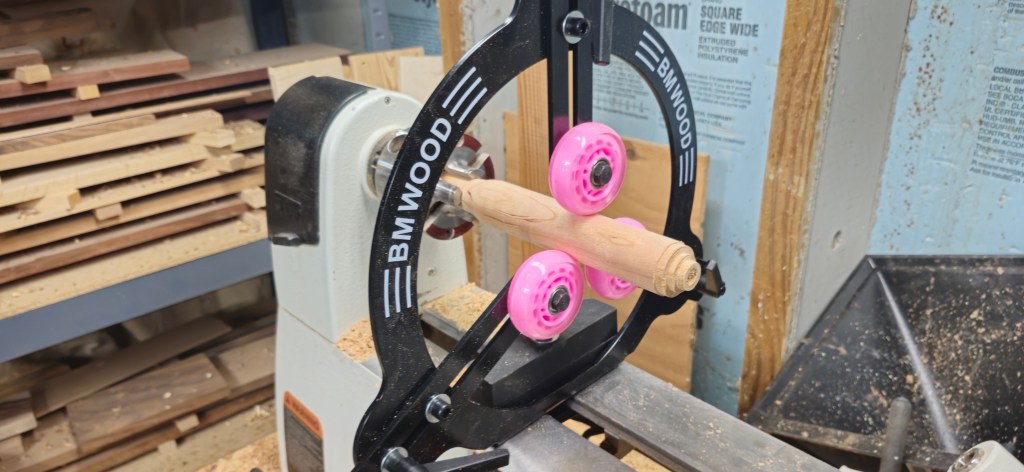
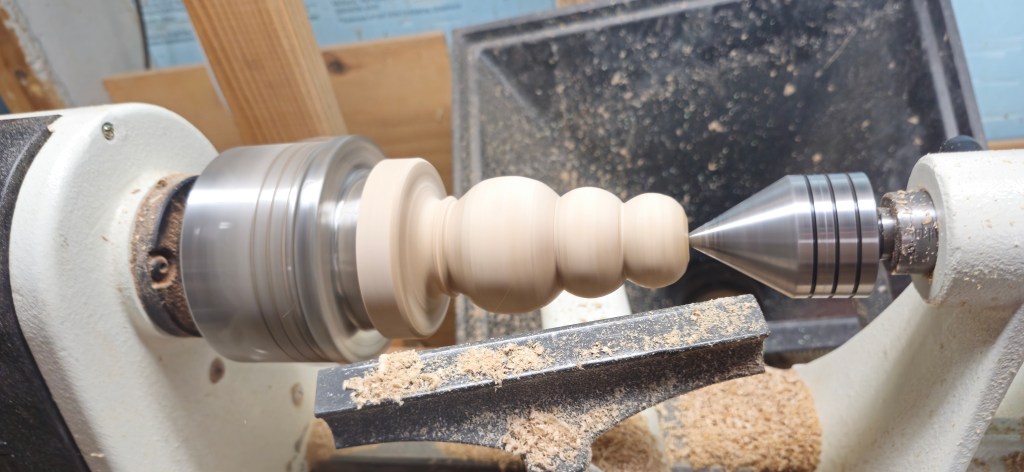
This was going to offer a couple challenges. First was just work holding in general. I have a pair of pin jaws I was going to have to use, something I haven’t done often. The second was just dealing with the instability of such a narrow piece. To help with this, I got to use my new BM Wood Steady Rest. I’ve never used one before and, wow, I’m impressed.
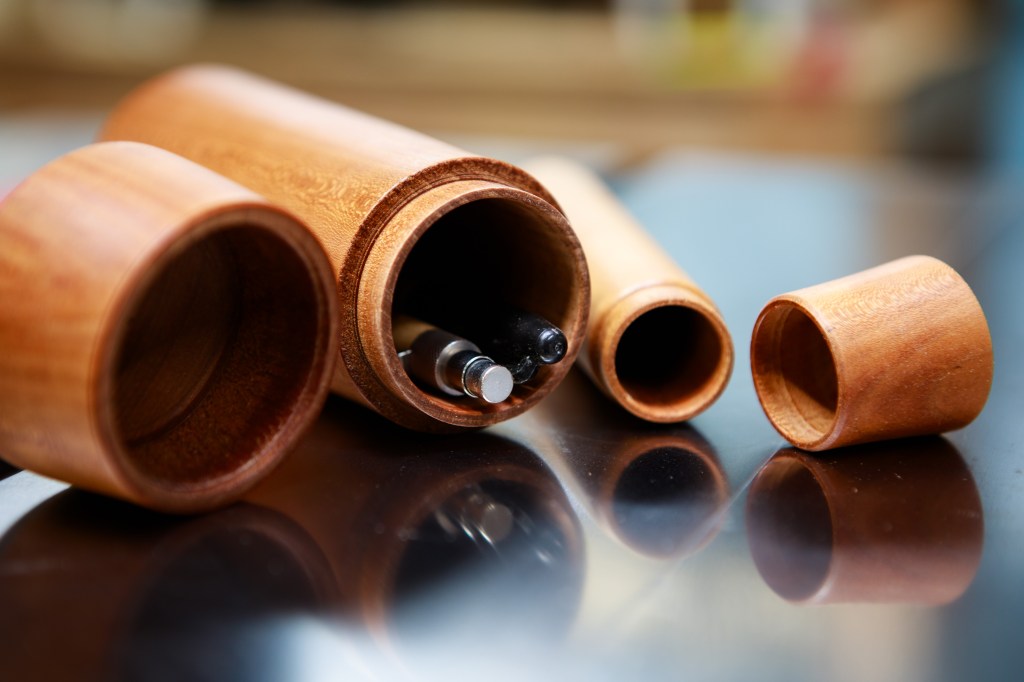
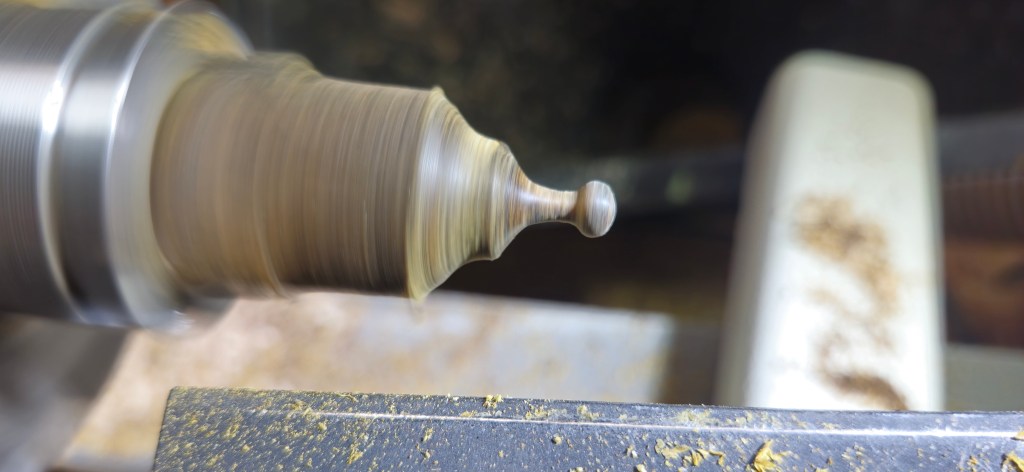
Thing went well, but I did run into two issues. First, as I was finishing up the bottom of the case, making one last cut to remove a center nub, I just cut through the bottom. By a mere fraction of a millimeter, I had turned through it and left a small hole. Darn it! I eventually used a 1/16″ drill bit and cut it out cleanly so it at least looks intentional 🙂
Next, I wasn’t happy with the lid/cap. It was too loose for my liking and the walls were just too thin. So I tossed it out and turned a new one the next day.
In the end I have two new cases (for which I honestly have no use) under my belt. I encountered and overcame a few problems along the way, and feel much more confident in my ability to make them.
These were cherry wood, finished with two coats of tung oil.
Since getting my license in 2024 I’ve spent most of my time on 10 meters. My only always-up antenna is a mag-mounted 10 meter vertical on my chimney. Occasionally I’ll setup my multi-band vertical out in the front yard and play around.
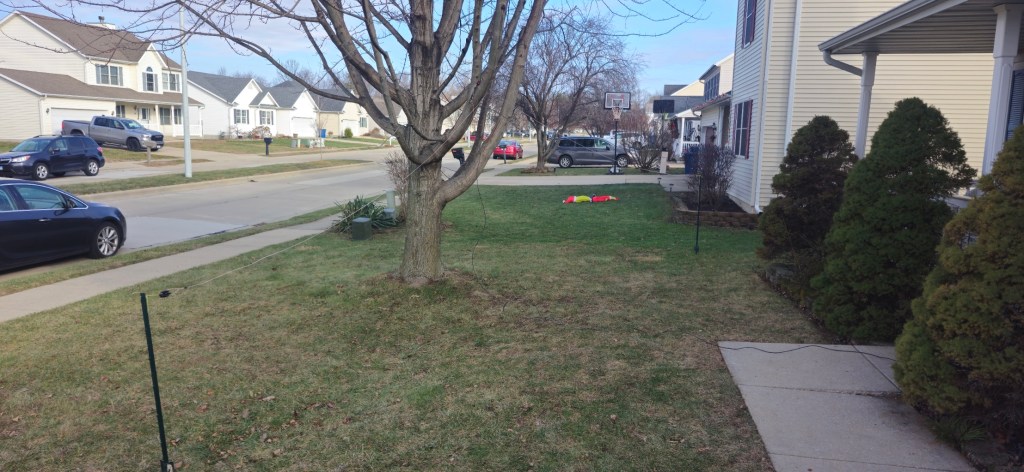
Yesterday I decided to try making my own 20 meter, half-wave dipole. I used 16 gauge speaker wire, a BNC-to-banana binding post (plus various adapters I had on-hand), two insulators, and a pair of metal garden fence posts.
This is the first time I’ve tried using something other than a purchased antenna and I’m certain it’s deployed sub-optimally. It is low to the ground, in a slightly sloping, inverted v configuration. To say I didn’t have my hopes up would be an understatement.
Imagine my surprise to see this when I fired up FT8.
And my transmissions were getting out well, too.
I had no issues getting onto Single Side Band voice and making contacts around the country. In addition, I fired off an email using Winlink with Vara HF via a station several hundred miles away.
So there we go. This was a low-effort attempt that was actually useful. I’m impressed.
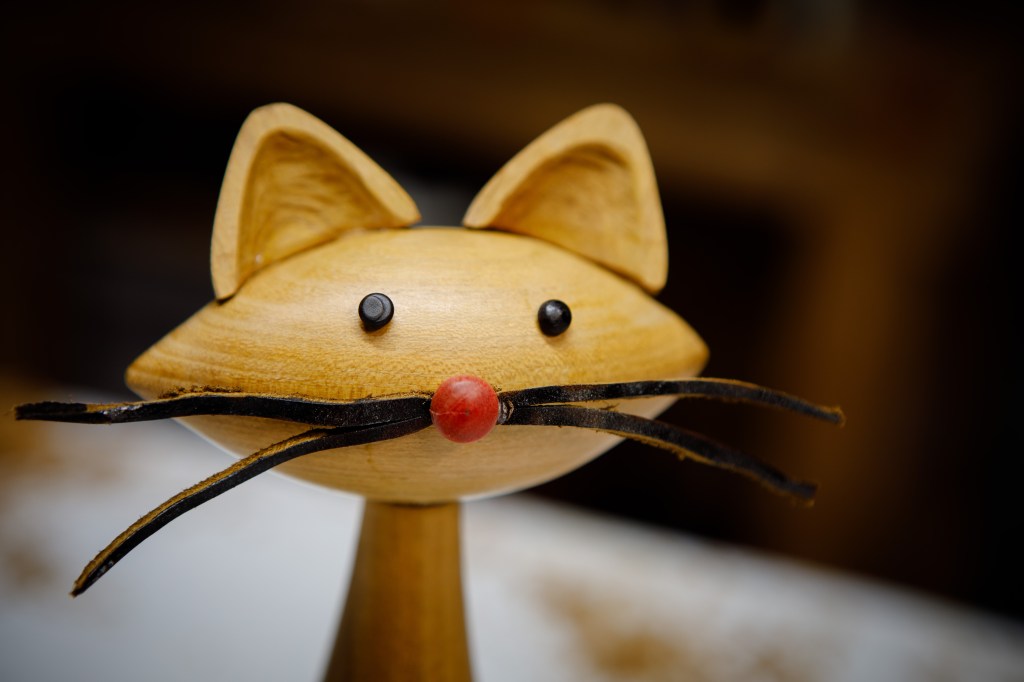
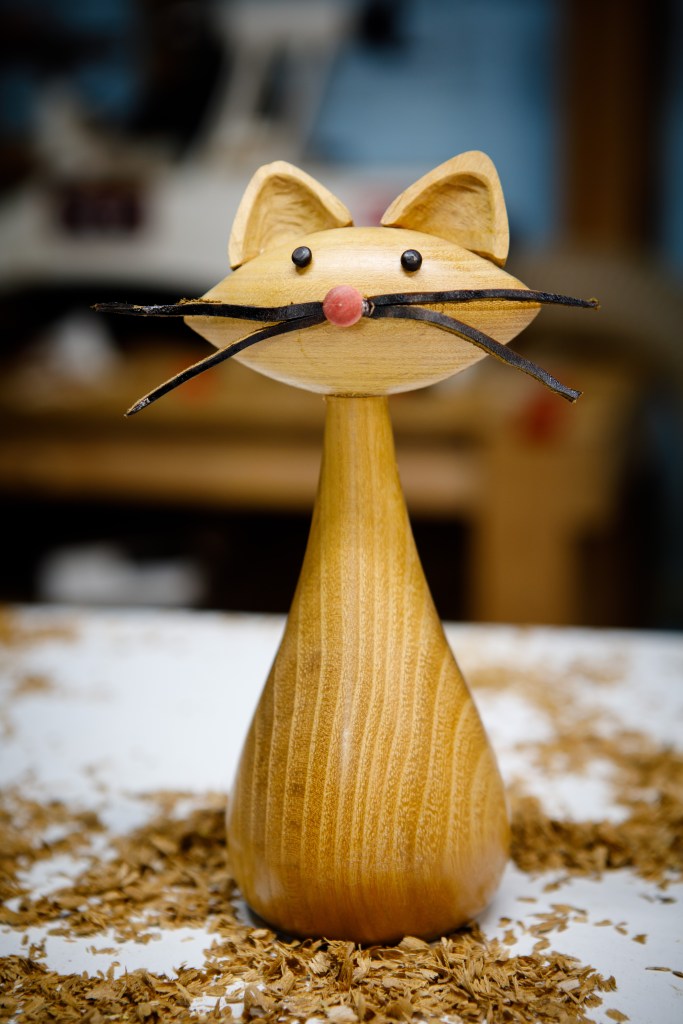
This was another fun lathe project. The body and head are turned separately, and the head attaches via a tenon on the body. This was made with some Honey Locust pieces I’ve had sitting on my shelf waiting for a purpose. It stands around 10″ tall.
The ears are a turned cone which is then cut in half with a hand saw (or jigsaw). Each half is then carved with a rotary tool/Dremel.
For the whiskers, I split small slices of leather. They were drooping so I dripped thin CA glue onto the leather to stiffen them up.
Small projects on the lathe are fun. For a little time in the shop, I can have something started and completed. And it’s a bonus when they can be actually used as decorations or given away.
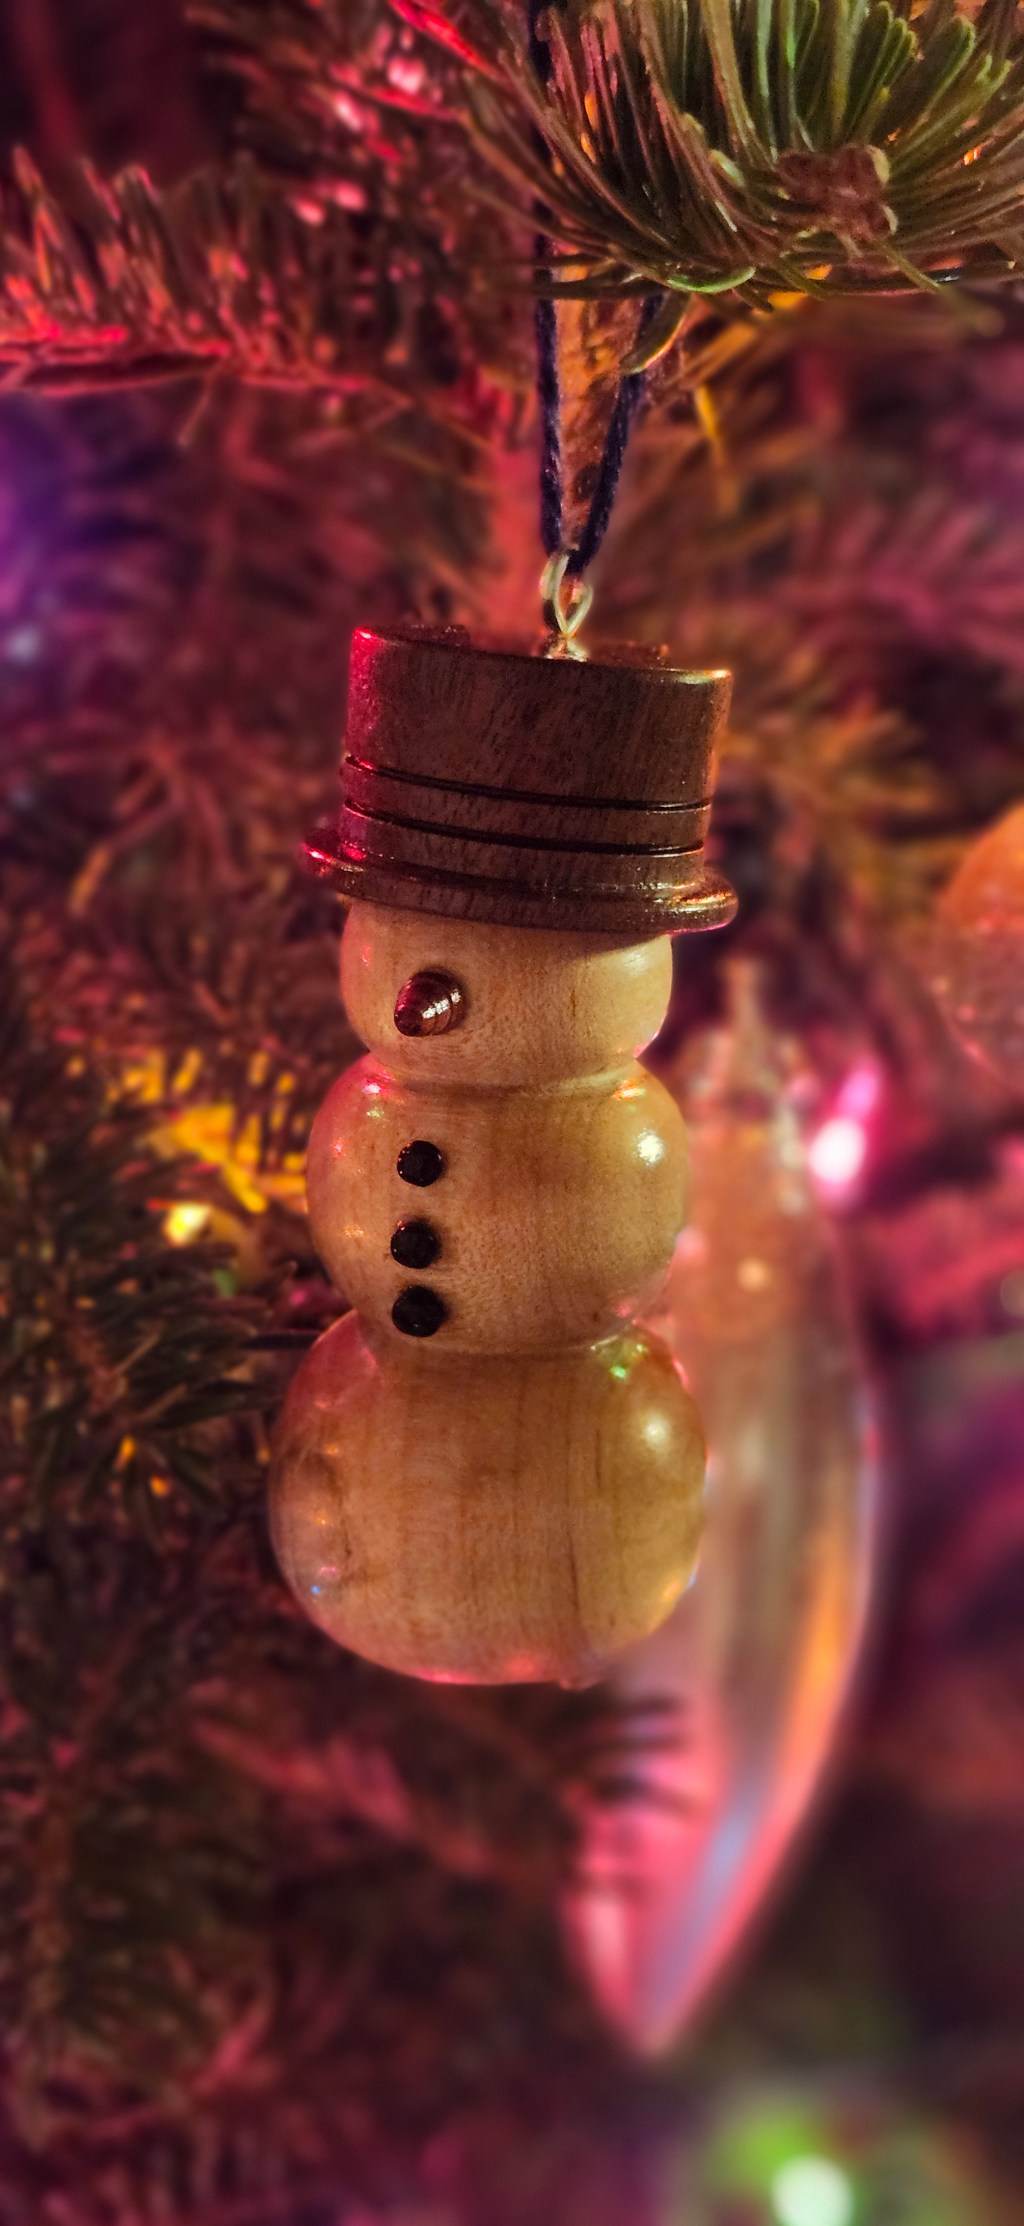
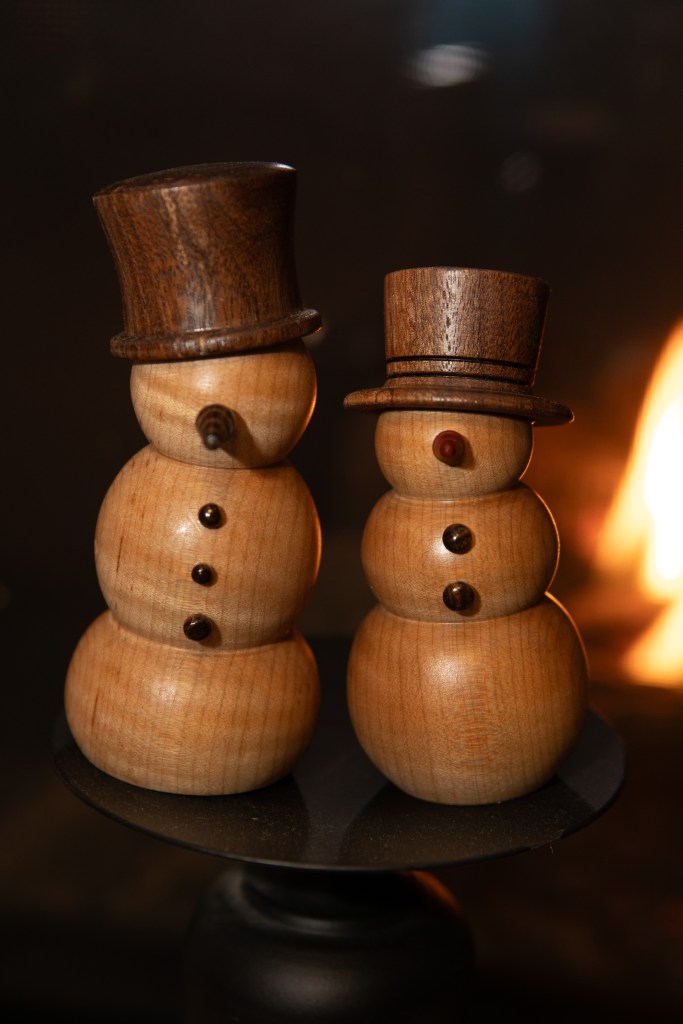
This year I tried my hand at a few snowmen – one small enough to be an ornament for the Christmas tree.
These all have maple bodies. Four have walnut hats and one cherry hat. Buttons and noses are unknown wood.
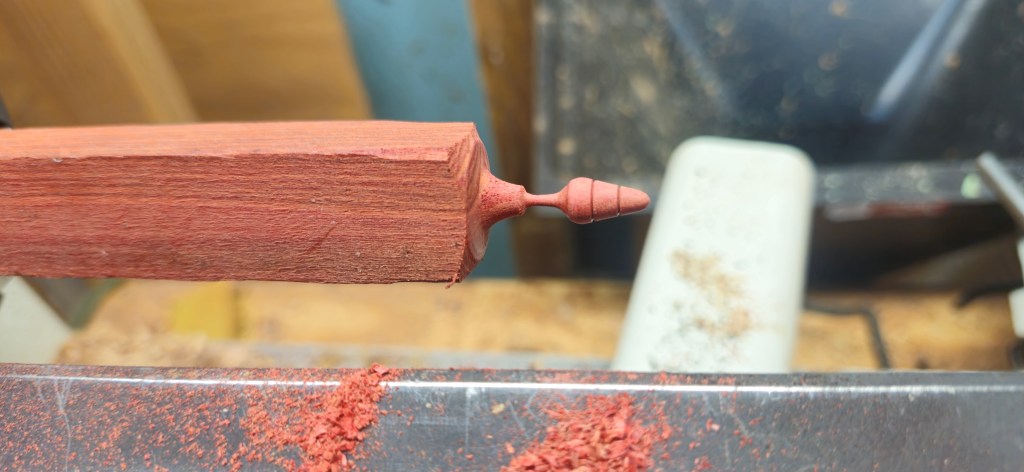
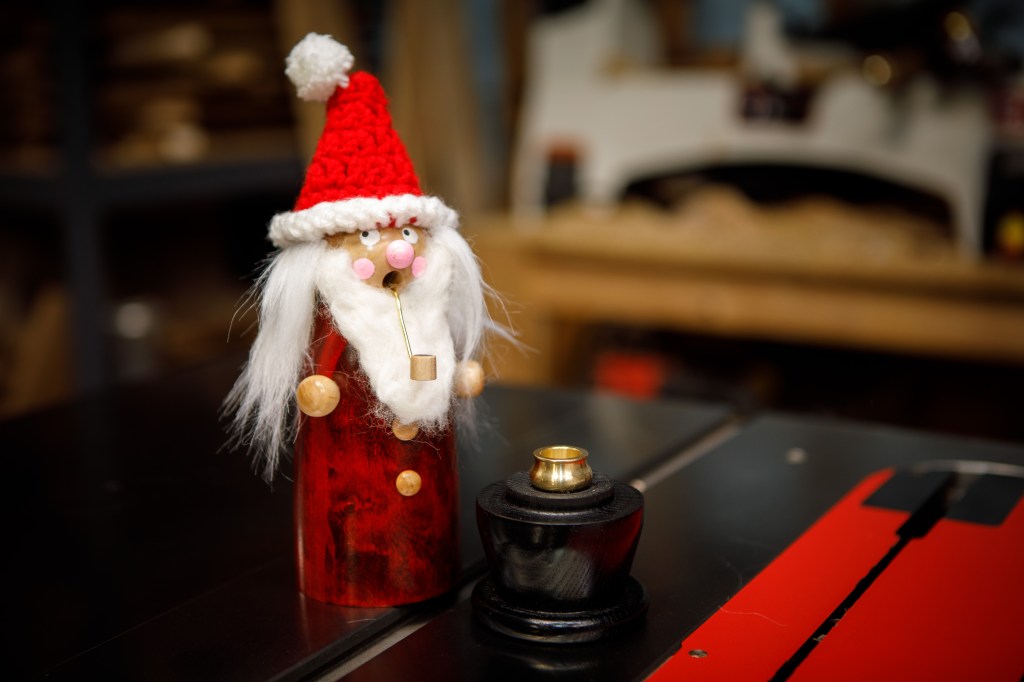
A huge thanks to Craft Supplies USA‘s commitment to teaching projects on the lathe. They released a video last month showing off how to use their German Smoker (incense) kit to make a fun little Christmas project.
After plenty of rewinding, fast-forwarding, and otherwise studying the video, I was able to turn my own Santa Claus this weekend.
At the part of the project where I was painting the face, I was incredibly skeptical that it was going to look good in the end. But once the hair, beard, and hat were added – I’m very happy with it!
If you’re looking for a fun project for the holidays, give it a shot. You may just end up with a decoration you’ll pull out year after year.
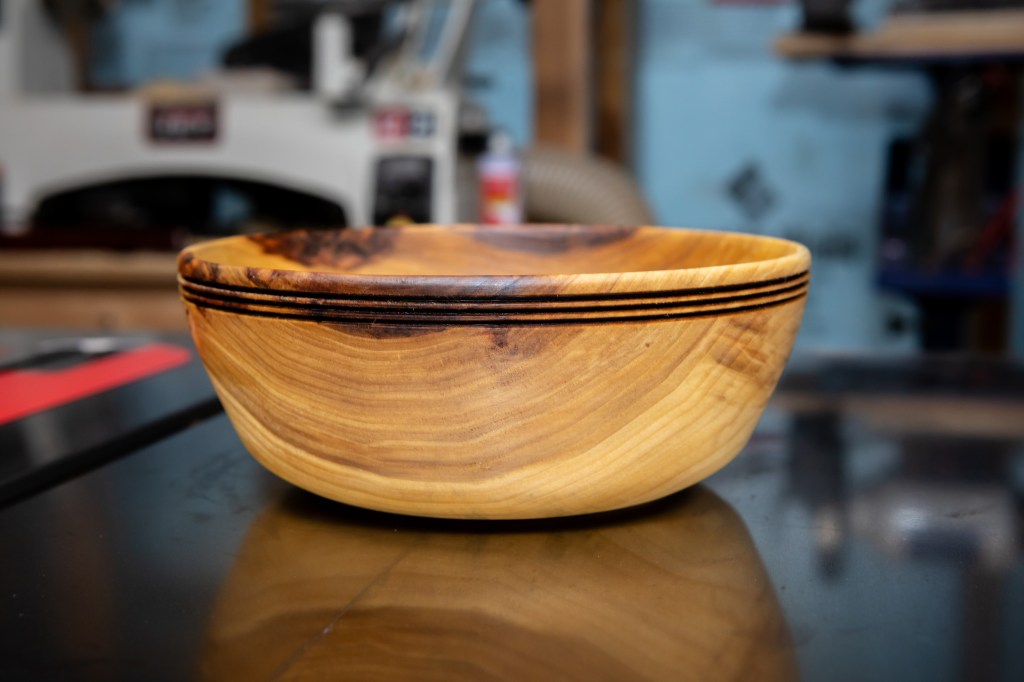
Last week I processed a couple more of the rough turned Sycamore I mentioned in Log to Bowl, Wood Unknown. There are so many interesting grain patterns here, I’m a little sad I don’t have that many more pieces left.
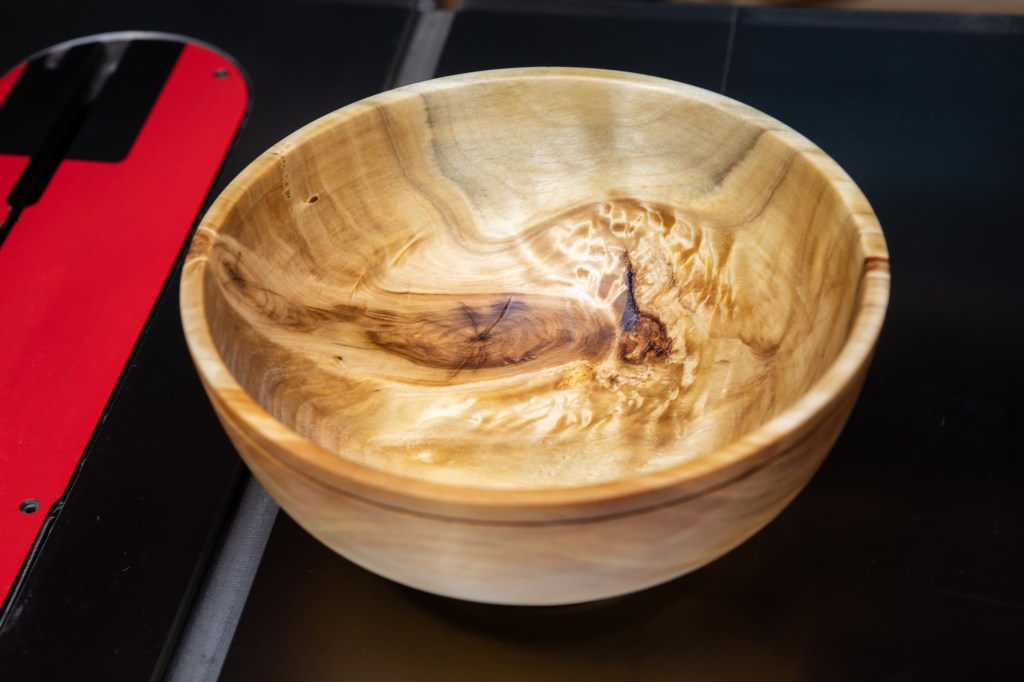
Earlier this year I was able to get ahold of a few pieces of an unknown species of wood. I quickly rough turned them back in April and placed them in to paper bags with shavings to dry.
Tonight I took one off the shelf, weighed it, and found it had stabilized. Ready to turn!
There is a lot for the eye too look at, that’s for sure. There was a little tearout but not too bad. Polar water for scale 🙂
I don’t know what kind of wood it is, so if you recognize it, let me know. Here’s what it looked like in log form.
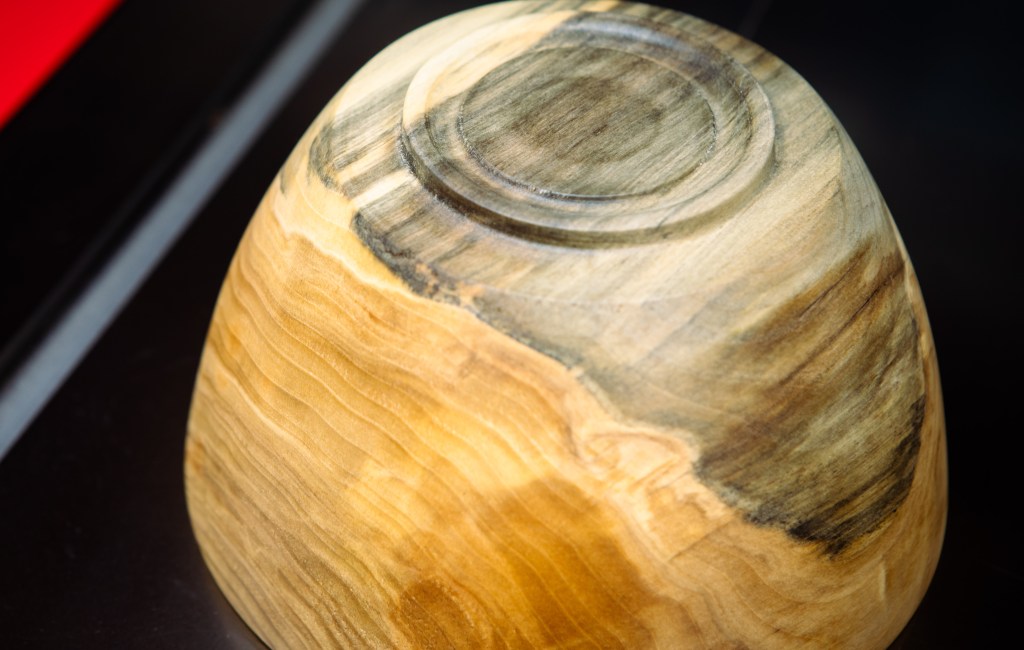
The new lathe is a pleasure to work on. Vibrations are greatly reduced and it simply does not bog down. It also has Reverse, which I’m finding very useful for sanding to a nice smooth surface.
I have a few more of pieces of this wood and now I’m excited about what they’re going look like.