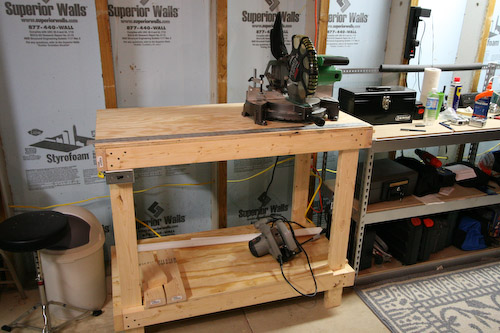
In early March I finally felt worthy to upgrade from an inexpensive Hitachi jobsite table saw to a real one. The inability to consistently create accurate and repeatable cuts on my little Hitachi was causing so much frustration that I was finding myself avoiding projects. The fence was garbage, the entire thing wobbled, and I had had enough.
I placed an order for a SawStop, the contractor model with upgraded fence system, cast iron extension wings, and a 36″ extension table. It arrived a little over a week later, and took 7 hours to assemble, but I have been completely satisfied with every aspect of the tool.
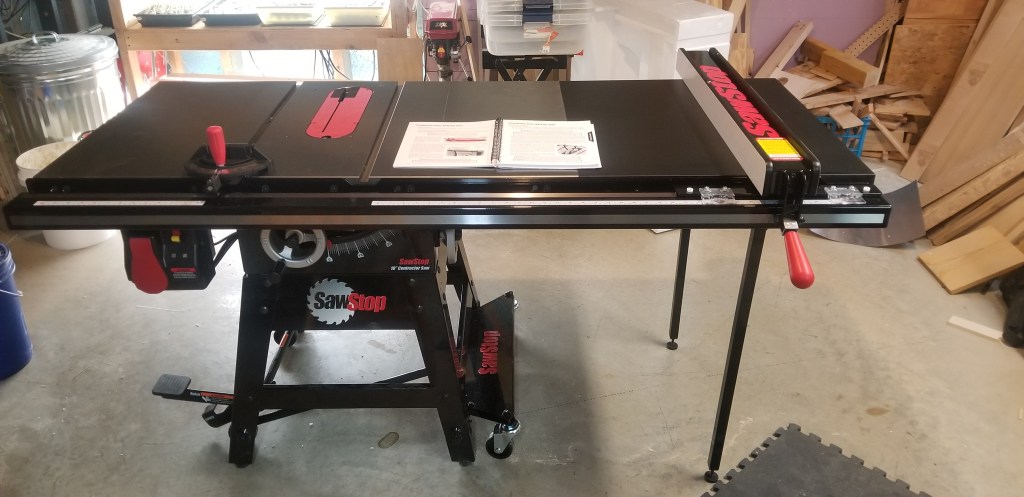
It took me a while to finally make the purchase of a SawStop. The increased cost of this over other really good saws is not insignificant. That said, I hate to call those other saws competitors because the SawStop technology is available nowhere else. Being a software developer who makes a living on a keyboard, the technology is invaluable. For the uninitiated, this saw detects when flesh touches the blade and instantaneously drops the running blade below the table – giving the operator a vastly improved chance of having no life altering injuries.
The purchase was timely. Shortly after delivery Illinois enacted their stay-at-home order, so I’ve had plenty of time to putz around the basement, learn, and put it to good use. I have spent several ours in the basement in each of the 7 weeks or so that we’ve been confined to the house. Projects abound!